As the summer sun beats down on your home, you find yourself desperately blasting your AC units and fans to keep cool. But what if there’s a better way? Installing central air conditioning may seem overwhelming, but we got you covered!
This guide will walk you through your home’s central air conditioning installation process. Are you ready to take on the challenge and stay cool all summer? Let’s get started!
DIY Central Air Conditioning Installation: Keep It Cool!
Step 1: Evaluate Your Space
Before installing central air conditioning, you’ll want to assess your space and determine the appropriate unit size for your home. Measure the square footage of your home and consult with a professional to determine the right-sized unit for your space.
Step 2: Install The Evaporator Coil
The evaporator coil is typically installed in your furnace or air handler. It is responsible for removing heat and moisture from the air. You must follow the manufacturer’s instructions to install the evaporator coil properly.
Step 3: Install The Condenser Unit
The condenser unit houses the compressor and condenser coil and is typically installed outdoors. Choose a location away from windows and outdoor living spaces to minimize noise.
Step 4: Connect Refrigerant Lines
The refrigerant lines should be connected from the evaporator coil to the condenser unit. This is a critical step and should be done by a licensed technician if you’re not experienced in HVAC work.
Step 5: Install The Electrical Wiring
The condenser unit must be powered with appropriate electrical wiring. We recommend you get help from a certified electrician or HVAC contractor for this task.
Step 6: Install The Ductwork (If Necessary)
If you do not have ducts, you’ll need to install Ductwork to distribute the cooled air throughout your home. This is also a job best left to a licensed professional.
Step 7: Install The Thermostat
Install a programmable thermostat to control the temperature and ensure energy efficiency.
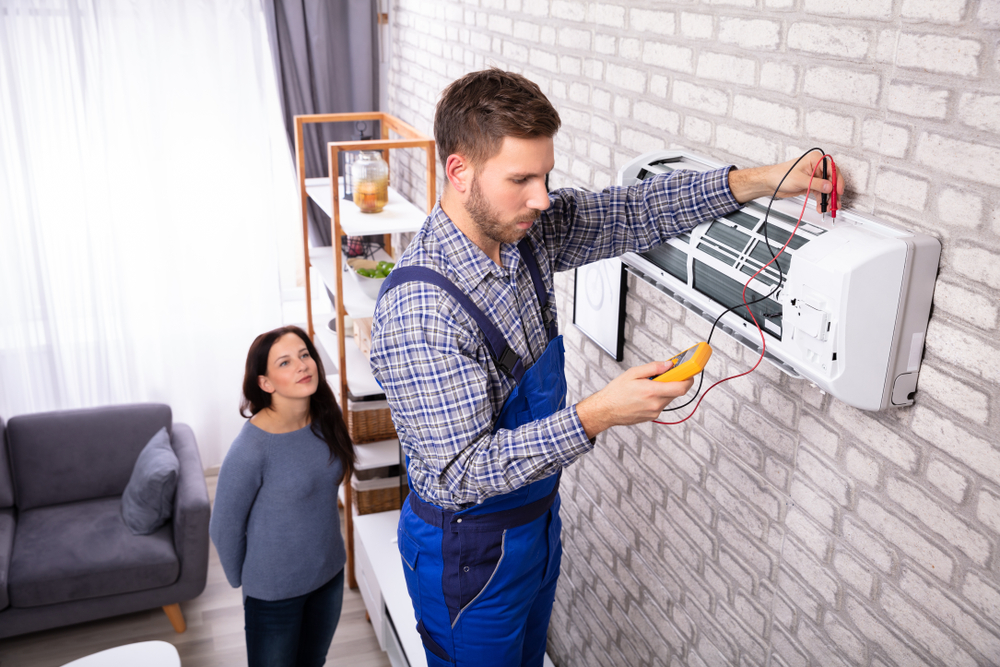
Step 8: Test & Maintenance
After installation, test the system to ensure it’s functioning properly. Schedule regular maintenance to keep your central air conditioning running efficiently.
Trust Our NATE-Certified Technicians For Efficient Central AC Installation
HVAC installation can be a time-consuming and tedious task. If not done properly, it can lead to costly repairs. While installing your central AC is possible, leaving it to the professionals is always better!
Certain steps may require certification and should only be done by licensed professionals. Avoid the hassle of doing the air conditioning installation yourself and call the experts at Robert & Sons A/C & Heating, LLC.
Our NATE-certified technicians have the knowledge and expertise in every type of HVAC system. We’ll evaluate your space, determine the appropriate unit size for your home, and install all necessary components. Don’t let the heat get you down; let us do the work for you!